Crafting a Test Spinner in Laravel 11: A Visual Guide
In the realm of web development, visual feedback plays a crucial role in keeping users engaged and informed. This is especially true during testing phases, where spinners and loaders can provide a comforting reassurance that something is happening behind the scenes.
In this article, we'll embark on a journey to create a simple yet effective test spinner for your Laravel 11 projects. We'll harness the power of Tailwind CSS for styling, Alpine.js for interactivity, and Laravel's templating capabilities to bring our spinner to life.
Step 1: Install Tailwind CSS and Alpine.js
Before we dive into coding, let's ensure we have the necessary tools at our disposal. Install Tailwind CSS and Alpine.js using your preferred method. For Tailwind, you can use npm or yarn. For Alpine, simply include the alpine.js script in your project's
.
Step 2: Create the Spinner Component
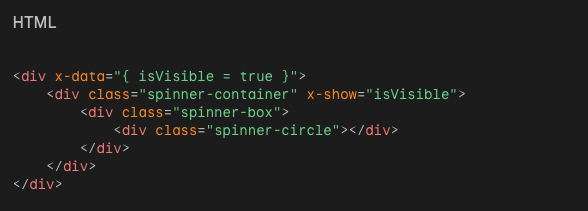
Let's craft the reusable component that will render our test spinner. Create a
resources/views/components/test-spinner.blade.phpfile and add the following code:
HTML
This code defines a basic spinner structure using Tailwind CSS classes. The x-data directive introduces Alpine.js reactivity, while isVisible manages the spinner's visibility.
Step 3: Display the Spinner in Your Blade Templates
Now, you can incorporate the spinner component into your Blade templates using the regular @include directive. For instance, in your resources/views/welcome.blade.php file, add the following line:
HTML
@include('components.test-spinner')
This will render the spinner on your welcome page.
Step 4: Control the Spinner's Visibility with Laravel
To truly integrate the spinner with your Laravel application, you can control its visibility using Laravel's templating capabilities. For example, imagine you want to show the spinner during an API request. You could do so by passing a $showSpinner variable to your Blade template:
PHP
return view('welcome', ['showSpinner' => true]);
content_copy
In your Blade template, you can conditionally display the spinner based on this variable:
HTML
@include('components.test-spinner')
Conclusion
With this simple setup, you have a handy test spinner at your disposal, ready to enhance the user experience during those testing marathons. Remember, you can customize the spinner's appearance and behavior to match your project's specific needs. Let your creativity spin!